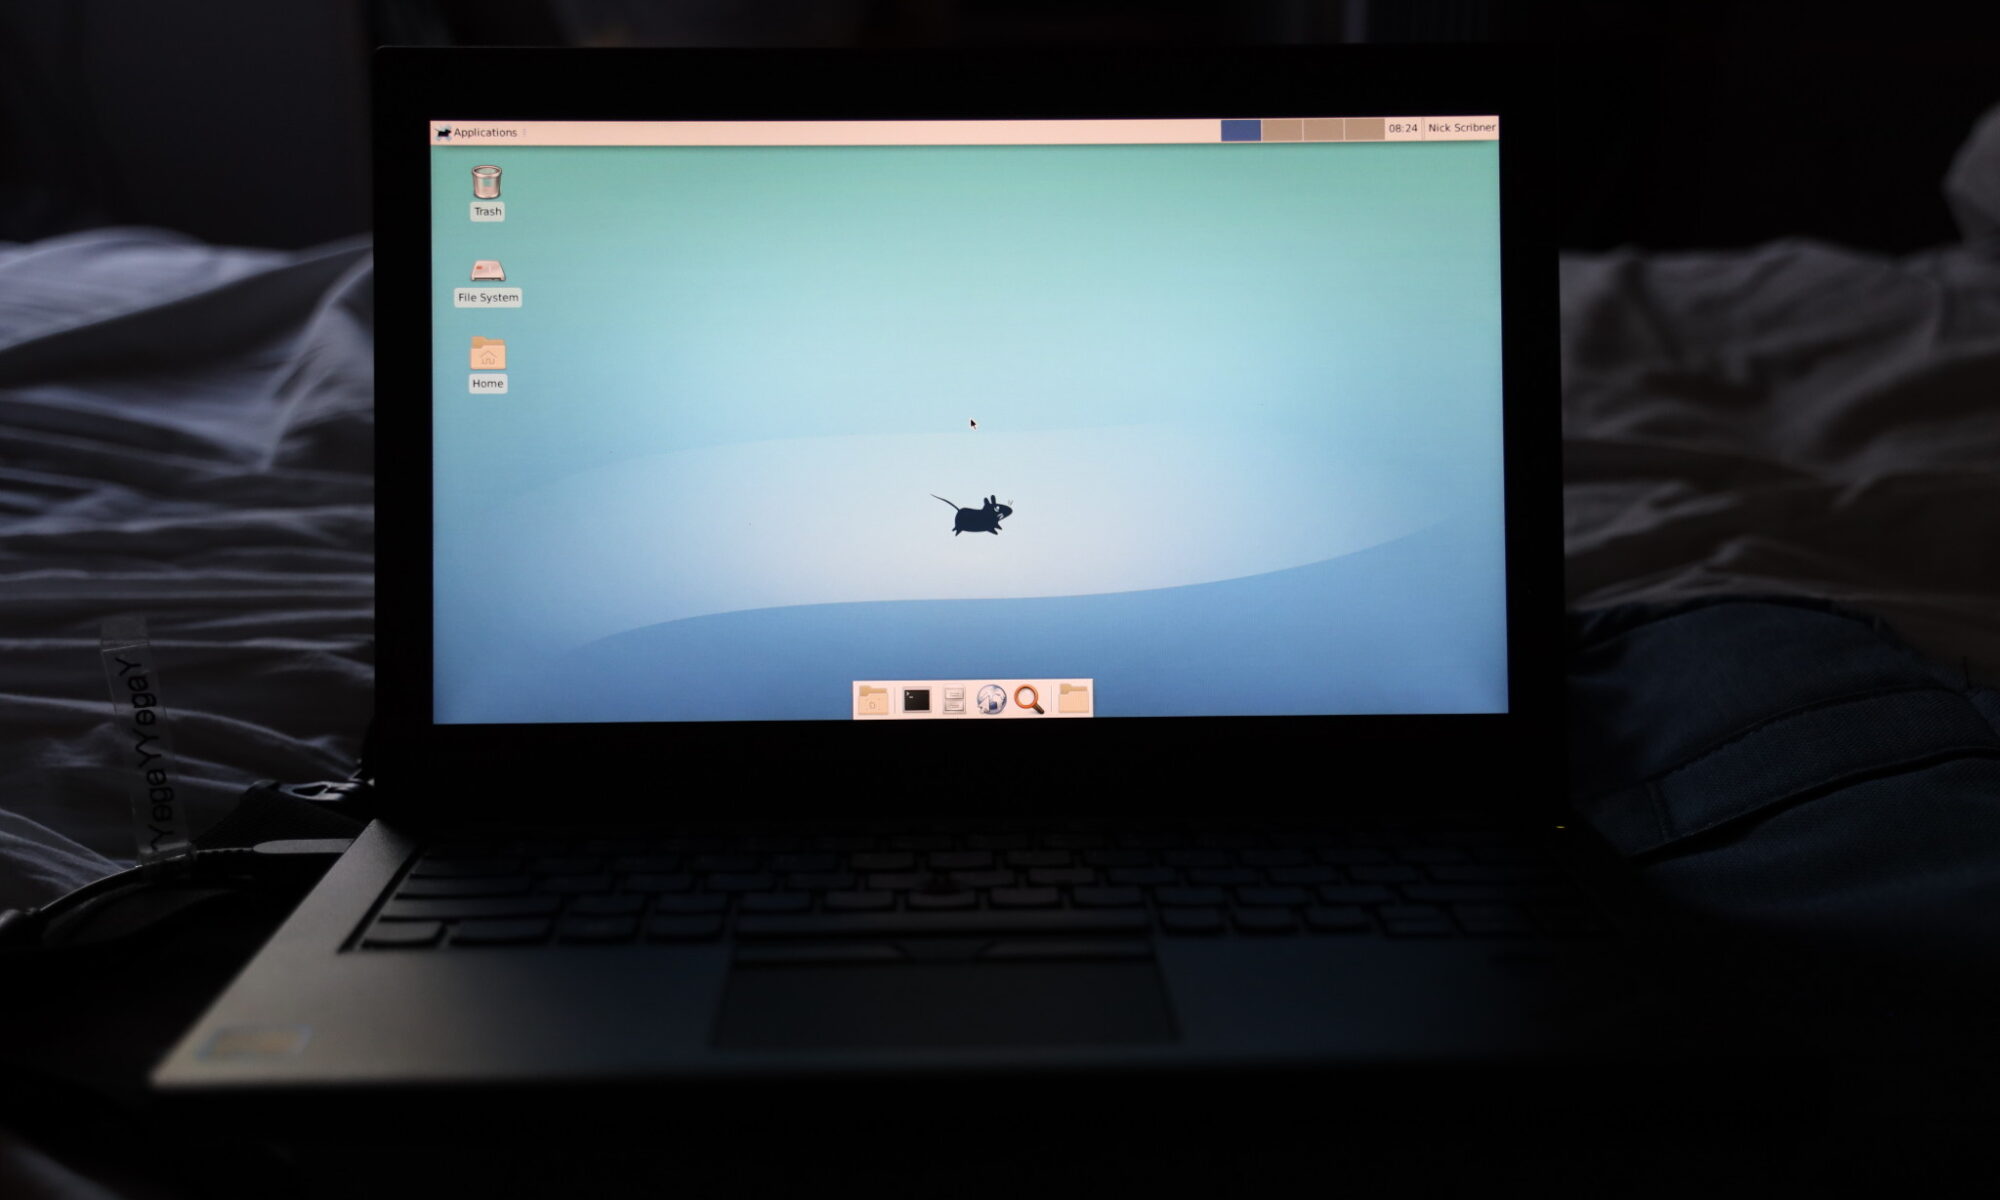
Yesterday, I successfully installed Xfce, a lightweight desktop environment, on my FreeBSD computer (a Lenovo ThinkPad X270). I couldn’t haven done it without the generous help of The FreeBSD Forums. Now my FreeBSD computer looks like any other modern desktop (such as Mac or Windows).

In this forum post, I received help on how to set up Xfce. I followed the forum’s instructions, and everything worked out perfectly.
Below are instructions one can follow to set up Xfce. Note that these instructions apply to computers with integrated Intel graphics, so check with The FreeBSD Forums or someone before trying these instructions yourself. These instructions are mainly for myself, so I can set up Xfce again in the future–if need be–but anyone can follow them.
- Enter the superuser/root account by entering % su and the password for the root account. Note that the command prompt on the shell (%, $, #, etc.) is dependent on what user is currently logged in. Therefore, the % should not actually be typed out. Once in the root account, the command prompt will be #.
- Follow 4.4.1. Getting Started with pkg in the FreeBSD Handbook to bootstrap the system by running the following command: # /usr/sbin/pkg
- Then enter # pkg install drm-kmod
- Enter the easy editor to edit the file /etc/rc.conf by entering the following command: # ee /etc/rc.conf
- Once in the easy editor, on a new line, enter the following: kld_list=”/boot/modules/i915kms.ko”
- Make sure to hit Enter so the file starts on a new line after saving.
- Save and exit the easy editor by pushing Esc and following the prompts to save and exit. The KMS driver should now be set up.
- Now install Xorg by following 5.3 Installing Xorg in the Handbook. Enter # pkg install xorg
- Because the KMS driver was set up, one can skip ahead in the Handbook to 5.7.3. Xfce. To install the Xfce package, enter # pkg install xfce.
- Enter the easy editor again to edit /etc/rc.conf by entering the following: # ee /etc/rc.conf
- On a new line, enter dbus_enable=”YES”
- After entering the above, hit Enter so the file starts on a new line. Then hit Esc and follow the prompts to save and exit.
- Start the /etc/rc.conf lines by entering # service dbus start
- Next, enter # kldload /boot/modules/i915kms.ko
- Simply rebooting would also achieve steps 13 and 14.
- If one didn’t reboot, enter # exit to leave the superuser account.
- If everything worked, one should see the Xfce desktop after running % startx as a regular account.
Thanks to the users k.jacker and Beastie of The FreeBSD Forums for the instructions.

missing a number of steps, this guide is going to mislead noobs and then they are going to give up freebsd GJ
well maybe you should share what steps are missing since you are aware of them. keeping it to yourself does not help anyone.
Which steps are missing? Could that be some configs for speed enabling stuff?
I’ve read somewhere about something like that, but idk, if i find something and will remember, i will comment with updated instructions!
i noticed Slim isn’t mentioned
did use gdm ?
everytime I’ve used slim on freebsd , netbsd or openbsd i always get the error “Failed to execute login command..” in the Login GUI Screen after entering root or user passwords screen.
Alas, these are not my instructions. I do notice some discrepancies between these instructions and the Handbook (e.g., nothing about starting Xfce–whether by x11/lightdm or startx[1]).
If you want to try instructions I have for a different, more feature-rich desktop environment, KDE Plasma, visit <https://www.jeers.com/blog/instructions-installing-kde-plasma-freebsd/>.